Piercing Bumps: Causes, Prevention, and How to Treat Them
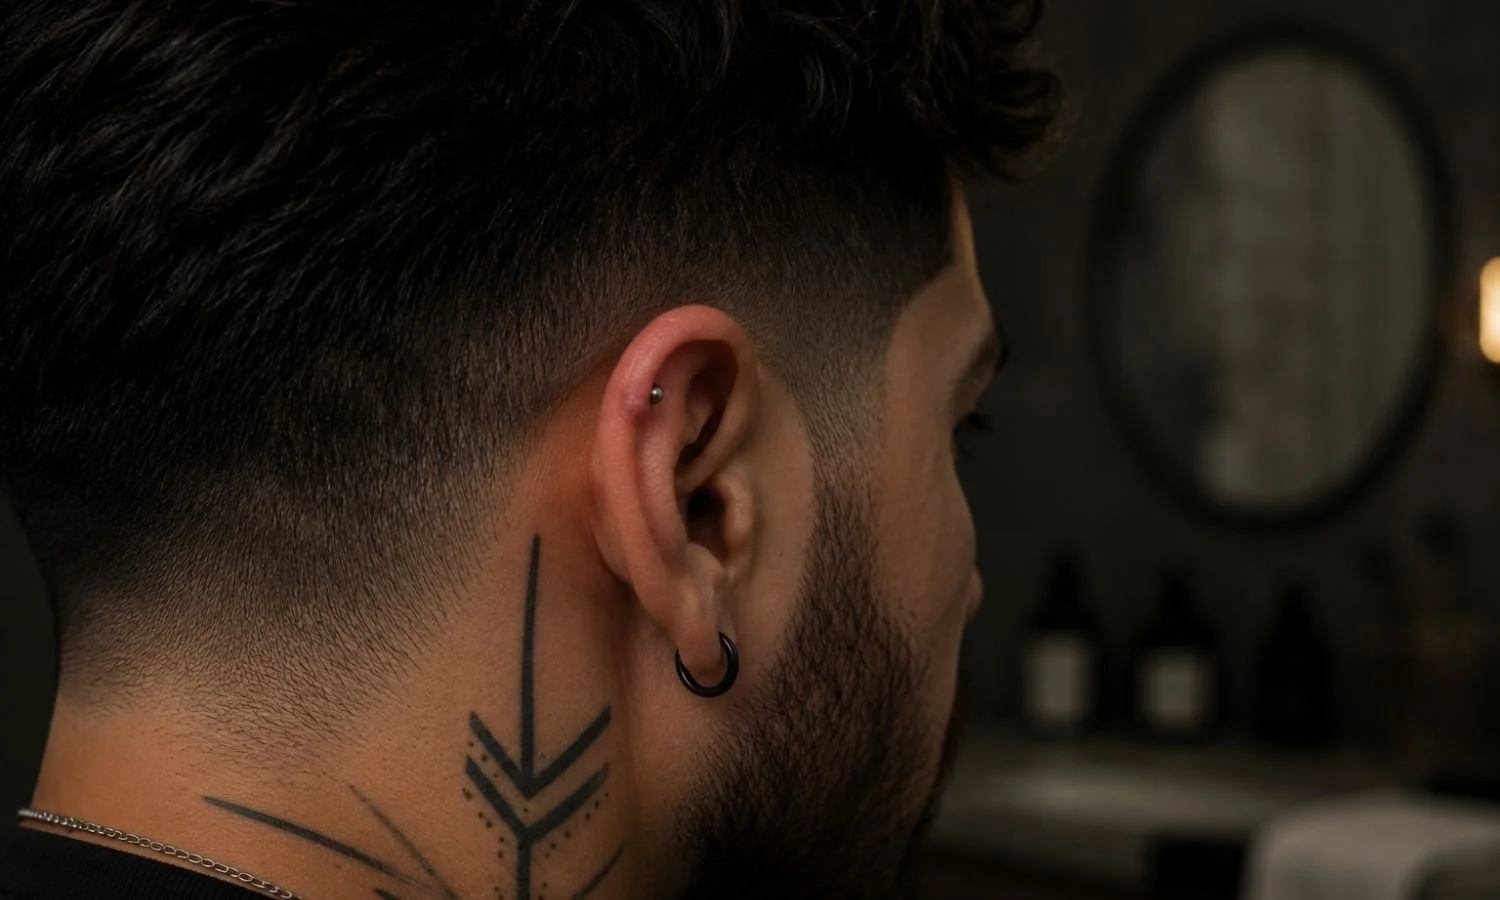
You got a new piercing. It looked perfect. Then a stubborn little lump showed up next to the jewelry and started stealing the spotlight.
If you’re dealing with piercing bumps, you’re not alone—and in most cases, you’re not “doing everything wrong,” either. These bumps are usually your body’s way of saying, “Hey, something’s irritating me.” The good news: with the right steps (and a little patience), most calm down and clear up.
At Southern Tattoo Society in San Antonio, we see this every week—on first-time clients who are nervous about normal healing and on experienced clients who’ve healed plenty of work but get thrown off by one finicky piercing. Our founder A.ONE has 23+ years of experience, and our studio is built around clean technique, sterile practices, and aftercare that actually makes sense in real life.
Quick note: This guide is educational—not medical advice. If you think you have an infection or a severe reaction, get medical care right away.
Table of Contents
The 60-Second Answer (What to Do First)
What Kind of Bump Is It? (3 Common Types)
Why Bumps Happen (The Real Causes)
How to Prevent Bumps (Before They Start)
How to Treat a Bump Safely (Step by Step)
What Not to Do (Common Mistakes)
When to Get Professional Help
How We Handle It at Southern Tattoo Society in San Antonio
Final Thoughts
The 60-Second Answer (What to Do First)
If you want the fastest, safest reset for an angry piercing, start here. Don’t get fancy—get consistent.
Don’t twist or “test” the jewelry. Movement breaks fragile new tissue and keeps inflammation going.
Clean 2×/day with sterile saline only. No alcohol. No peroxide. No DIY sea-salt mixes from the kitchen.
Keep it dry. A wet piercing stays soft and irritated. Pat dry with clean, non-woven gauze (or use a cool hairdryer).
Stop sleeping on it. Pressure and a crooked angle overnight can undo a week of good aftercare.
Check the jewelry. If it’s tight, too long, poor-quality metal, or the wrong style for healing, you’ll keep chasing the same problem.
Rule of thumb: If symptoms are getting worse day by day (not just fluctuating), or you feel sick, don’t “wait it out.” Get seen.
What Kind of Bump Is It? (3 Common Types)
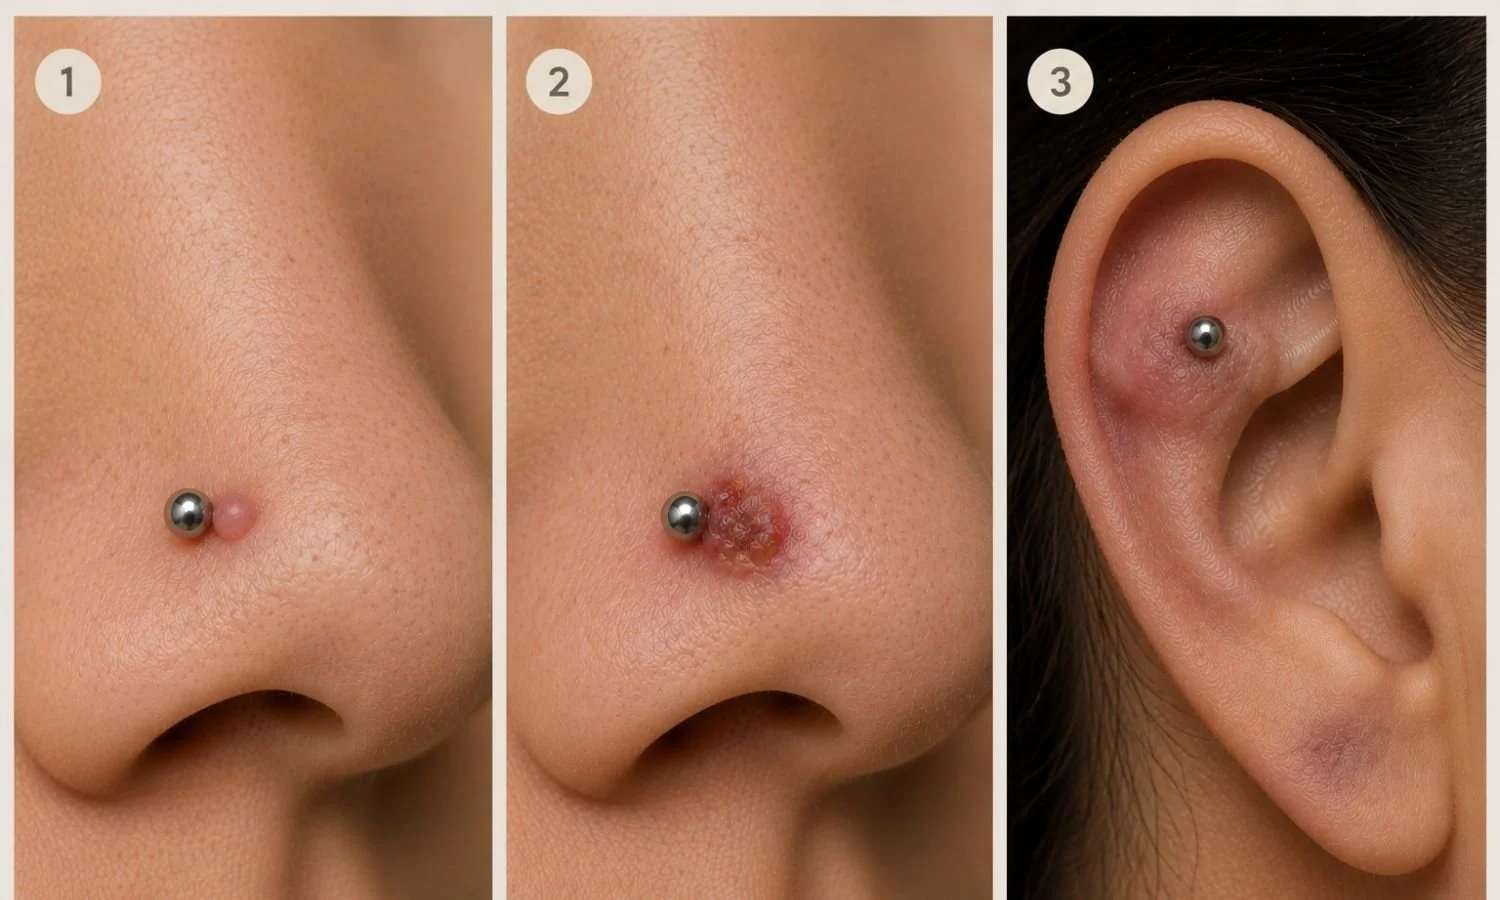
Not every lump means infection—and not every lump is a keloid. The label matters because the wrong “fix” can make the situation worse. These are the three most common categories:
1. Irritation bump / hypertrophic scar
This is the most common scenario: a raised bump right next to the piercing that’s pink/red or skin-colored. It’s usually firm (not squishy), can feel tender, and tends to flare up after friction—sleeping on it, snagging it, over-cleaning, or bumping it during workouts.
What it usually means: the piercing is trying to heal, but something is repeatedly stressing the area. Remove the stress, and the tissue often settles.
Common placements: cartilage, nostril, helix, conch, and any spot that catches hair, masks, or headphones.
2. Granuloma
A granuloma can look like a tiny raw red “raspberry” and may bleed easily if you snag it. It can also weep clear fluid that dries into crust (which scares people, but isn’t automatically a sign of infection).
What it usually means: your body is producing extra healing tissue and blood vessels because it’s stuck in an inflamed stage. These often improve when you reduce movement and keep the area clean and dry.
3. Keloid (less common)
True keloids grow beyond the original wound and can keep expanding. They can be thicker, rubbery, and may itch or feel uncomfortable. Genetics matter here, and they’re more common in some skin types.
What it usually means: this isn’t a basic aftercare problem. If you suspect a true keloid, it’s worth speaking with a medical professional or dermatologist for real options (not internet hacks).
Why Bumps Happen (The Real Causes)
Most bumps don’t show up because you “forgot one cleaning.” They show up because something is repeatedly irritating a healing wound. Here are the big culprits we see in the real world:
Mechanical irritation (pressure, snagging, sleeping on it)
Cartilage and nose piercings take the most abuse: masks, glasses, hair, headphones, towels, pillows. Even “tiny” daily friction can keep a healing piercing angry. Constant pressure can also shift the angle—especially if you sleep on it—so the jewelry pushes against the inside of the channel instead of sitting clean and straight.
Quick self-check: If the bump gets bigger after a long day in a helmet, after wearing tight headphones, or after sleeping on that side, friction is probably the driver.
Jewelry problems (material, fit, style)
Jewelry is not just decoration—it’s the framework your body has to heal around.
Material: Nickel sensitivity is real. Implant-grade titanium is a common go-to because it’s highly biocompatible for most people.
Fit: Jewelry that’s too long moves and snags; too short can pinch, press, and trap swelling—sometimes leading to embedding.
Style: Hoops too early can move a lot. Heavy ends can pull. Certain shapes can press in ways your anatomy doesn’t love.
One of the fastest ways to calm chronic irritation is simply switching to the right material and a fit that matches your swelling stage.
Aftercare that’s too aggressive
More cleaning isn’t “more sterile.” It’s often more irritated. Over-cleaning, rotating jewelry, scrubbing crust off, and using harsh products can damage the new tissue your body is trying to build. The goal is to reduce bacteria and debris without stripping or burning the skin.
Also common: leaving soap residue behind in the shower, applying makeup or skincare too close to facial piercings, and letting wet hair sit against the site.
Angle or placement issues
Piercing is a skill. If the angle is off, the jewelry applies uneven pressure 24/7. That constant stress can lead to chronic irritation that doesn’t respond to home care. In some cases, the most honest solution is evaluation and a plan—downsize, swap style, or (rarely) retire and redo once healed.
How to Prevent Bumps (Before They Start)
If you’re a first-timer, this section will save you stress. If you’ve been pierced before, it’ll remind you what actually works (even when the internet is yelling twenty different home remedies).
Stick to simple, modern aftercare
Clean and calm beats “disinfected and angry.” Keep it basic:
Wash hands first before you touch anywhere near the piercing.
Sterile saline 2×/day. Spray, let it loosen debris, then gently dab with clean non-woven gauze.
Shower smart. Let warm water run over it (no direct high-pressure blasting), and make sure all shampoo/soap is rinsed away.
Dry thoroughly. Moisture trapped around jewelry is a common reason healing stalls.
Keep products away: skincare acids, retinol, heavy balms, makeup, and hair products can irritate fresh piercings fast—especially on the face and ears.
If you’re planning an ear piercing (or curating a full ear setup), start with our ear piercing guide for placement ideas, healing expectations, and aftercare basics.
Plan for a downsize
Most quality piercings start with longer jewelry to allow swelling. Once swelling drops (often around 4–8 weeks, depending on placement and your body), that extra length becomes a problem. Downsizing reduces movement, snagging, and angle shifts—three major drivers of irritation.
If you’re unsure when you’re ready, don’t guess. A quick check-in can prevent months of frustration. You can also explore our current options on the piercings page..
Protect it from your lifestyle
Healing piercings don’t live in a lab—they live in your day-to-day. Make small changes that protect your investment:
Side sleepers: use a travel pillow (ear in the hole) or switch sides.
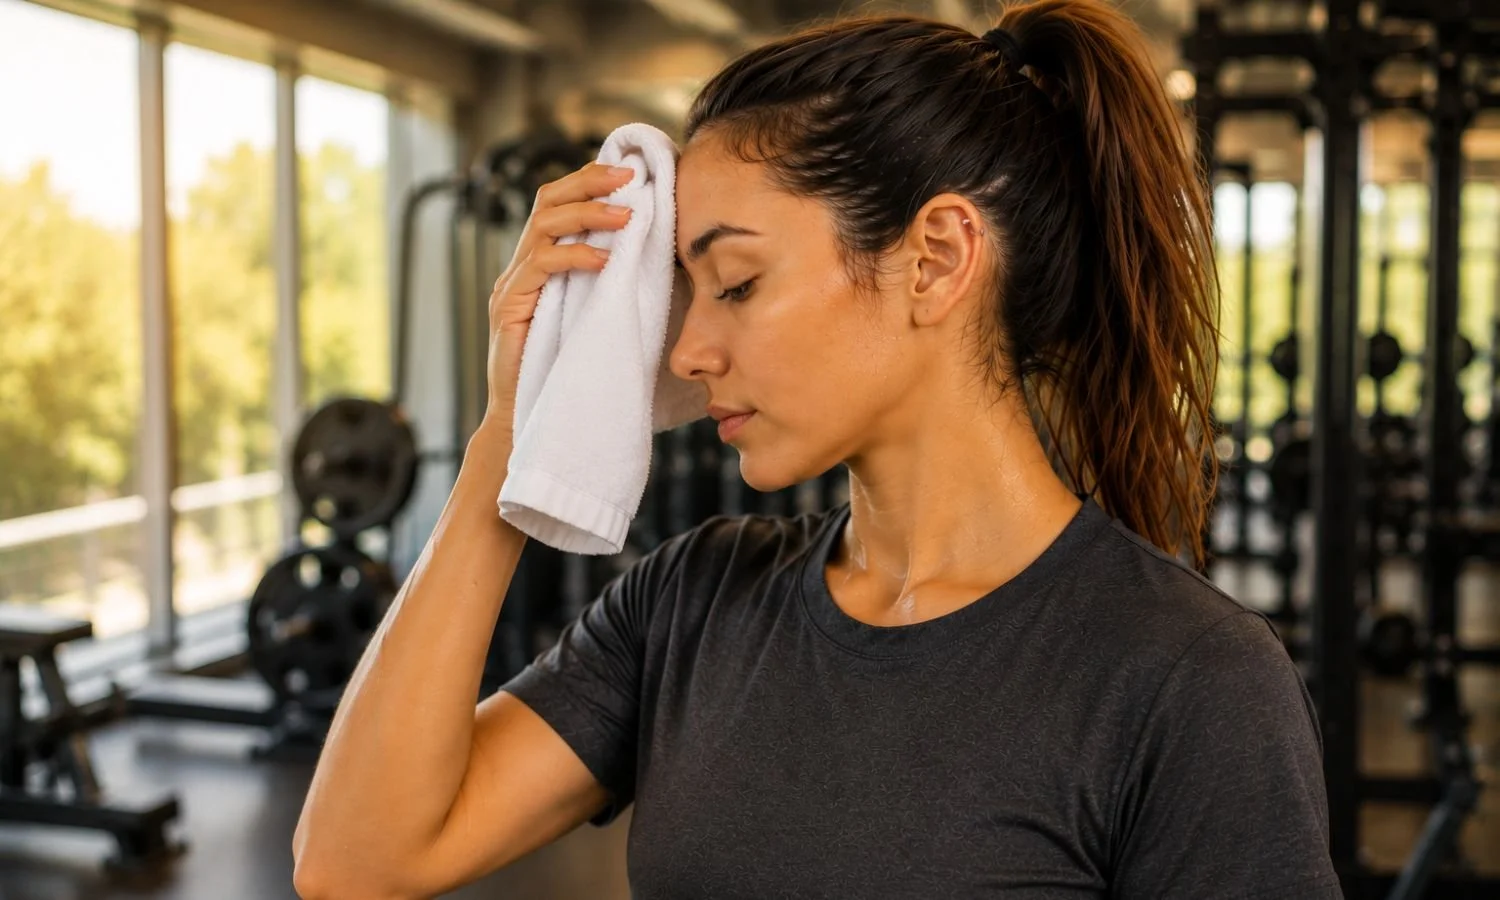
Gym + sports: avoid contact, wipe sweat, and don’t let helmets/headgear rub the site.
Hair management: keep hair off the jewelry and avoid catching it with a brush.
Headphones/earbuds: reduce pressure and keep devices clean.
Swimming: avoid pools, lakes, and hot tubs while the piercing is fresh (they’re bacteria-heavy environments).
How to Treat a Bump Safely (Step by Step)
This is the approach we recommend most often because it’s effective, realistic, and low-risk. It’s not a “one-night fix.” It’s a steady plan that lets your body do its job.
Step 1: Remove the cause (not the jewelry)
Start by asking: what changed right before the bump showed up?
Sleeping on it?
New headphones, helmet, or mask friction?
Started twisting it again?
Switched products (soap, shampoo, skincare)?
Changed jewelry or got it snagged hard?
Fix the irritation first. Otherwise, you’re just treating the symptom while the cause keeps hitting the same spot.
Step 2: Saline + warm compress (the gold standard)
Use sterile saline wound wash (0.9% sodium chloride) and a warm compress to promote circulation and calm inflammation:
Spray saline onto clean non-woven gauze until saturated.
Warm it slightly (comfortably warm, not hot).
Hold gently on the area for 5–10 minutes.
Pat dry completely.
Do this once daily for a week, then reassess. Improvement often looks like: less redness, less tenderness, and the bump slowly flattening over time.
Step 3: Don’t “battle” crusties
Crust is often dried lymph (normal healing fluid). Let saline soften it. Don’t pick. Don’t scrape. If you keep ripping it off, you keep reopening the wound—so your body keeps rebuilding the same irritated tissue.
Step 4: Get the jewelry checked if it’s not improving
If you’ve done the basics consistently for 7–14 days and the bump isn’t shrinking, get an in-person evaluation. A simple swap to properly fitted, high-quality jewelry can be the turning point.
Important: Don’t change jewelry yourself on a struggling piercing. Improper swaps can cause more swelling, more trauma, and a longer healing timeline.
What NOT to Do (Common Mistakes)
The internet loves extreme advice. Healing piercings don’t.
No tea tree oil. It can burn healing tissue and make irritation worse.
No alcohol or peroxide. Too harsh for healing piercings and can delay healing.
No aspirin paste. Chemical burn risk.
Don’t pop it. These aren’t pimples, and squeezing creates trauma.
Don’t rotate jewelry. That “old-school advice” can shred the healing channel.
Avoid ointments unless a professional tells you. Thick products can trap moisture and bacteria, especially on cartilage.
Don’t remove jewelry if you suspect infection. The hole can close and trap infection inside.
When to Get Professional Help
There’s a difference between a normal healing flare-up and a situation that needs medical attention.
Go to urgent care or your doctor if you have:
Severe, worsening pain
Hot, spreading redness or swelling
Thick yellow/green discharge with foul odor
Fever, chills, or feeling sick
Red streaking from the site
If it’s not a medical emergency but it’s not healing right (tight jewelry, wrong angle, constant irritation), see a professional piercer. If you have common healing questions, check our FAQs for straightforward answers. And if you’re looking for piercings san antonio clients can trust, look for a studio that takes sterilization, materials, and education seriously—not one that rushes you out the door.
How We Handle It at Southern Tattoo Society in San Antonio
We’re a locally owned tattoo and piercing studio in San Antonio, TX, and we treat piercings like what they are: a controlled wound that deserves professional technique and clean standards. That’s how you get clean results—and how you avoid problems that shouldn’t happen in the first place.
Sterile, professional practices—every time
Professional piercing should feel calm and controlled. We focus on sterile setup, clean handling, and clear aftercare—because the piercing itself is only half the job. The other half is healing.
We match the piercing to the person (and the goal)
We don’t treat everyone like the same template. First-time clients often need simple, stable jewelry and a realistic healing plan they can actually stick to. Experienced clients may want a specific aesthetic, curated ear styling, or a clean look that fits their existing tattoos and jewelry—so we guide choices that look great and heal well.
Placement + jewelry selection is the “design process” for piercings
With tattoos, the design process is obvious. With piercings, the design is in the details: placement, angle, jewelry style, and sizing. We talk through what you want, check anatomy, and choose jewelry that supports healing now and looks right long term.
We’ll walk you through the full process
Consultation: anatomy check, placement goals, lifestyle factors (work, sports, sleep habits).
Jewelry selection: material, size, and style that fit your anatomy and healing stage.
Aftercare plan: simple steps, explained clearly—so you’re not guessing at home.
Downsize support: we’ll tell you when to come back so healing stays on track.
Final Thoughts
Most piercing bumps are caused by irritation, pressure, movement, or jewelry issues, not bad luck. The best thing you can do is stick to proper aftercare, avoid unnecessary irritation, and give your piercing the time it needs to heal. While it can be tempting to try multiple remedies or clean the area excessively, doing too much often slows the healing process.
If you're unsure what kind of bump you're dealing with or your symptoms aren't improving, it's always best to have your piercing evaluated by an experienced professional. A simple jewelry adjustment or a few aftercare recommendations can often make a big difference.
At Southern Tattoo Society, we're committed to helping every client heal safely and confidently. Whether you need a professional evaluation, jewelry adjustment, or personalized aftercare advice, our experienced team is here to help.
Ready to give your piercing the best chance to heal? Book a consultation with Southern Tattoo Society. Visit us at 7327 N Loop 1604 W #101A, San Antonio, TX 78249, or visit southerntattoosociety.com to get started. If you're looking for expert piercings in San Antonio from a studio that prioritizes safety, quality, and long-lasting results, we'd love to help.